Latest news
17 Apr 24
Final countdown in British Sailing Team's quest for Marseille medals
Lake Garda awaits for newly selected British Youth Sailing talents
16 Apr 24

Exclusive limited time offer - FREE ticket to Southampton International Boat Show for RYA members
09 Apr 24
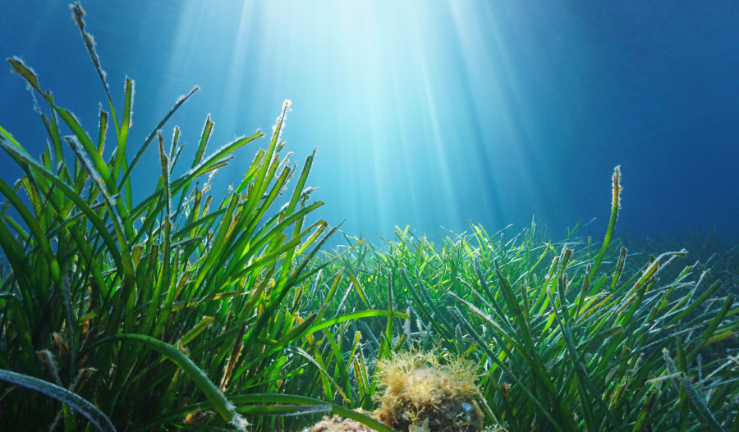
The Green Blue to host free anchoring and mooring webinar
05 Apr 24
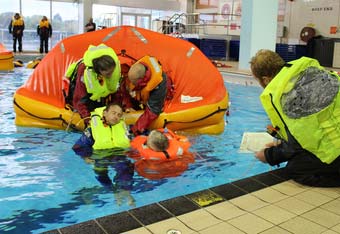
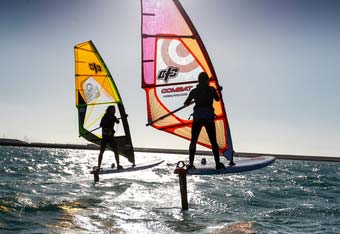
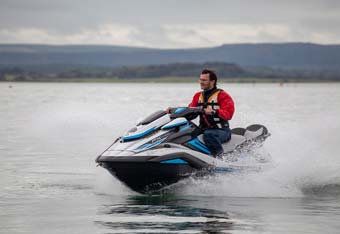
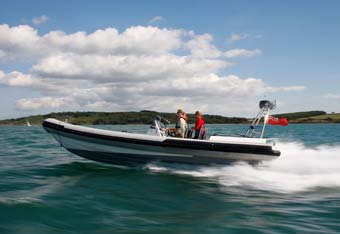
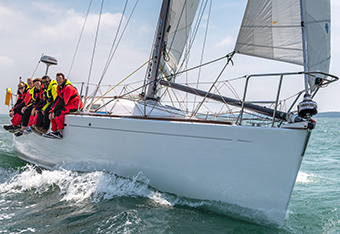
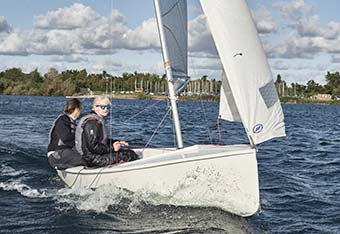
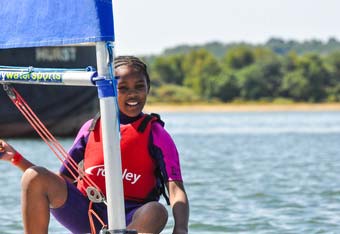
Explore our courses
With more than 100 courses to choose from, there's something for every age, ability and interest.